Overview
OneVenue’s emailing feature is a great way to send mass communications to attendees, staff members and sponsors. Emails can be fully customized with images, links, text, and files.
Composing an Email
Step 1: Select the type of email you will send
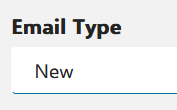
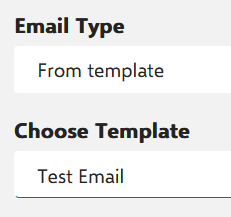
Email Type
Change the email type here.
Only content in Step 6: Message will be affected
- New – Blank slate to create a new email.
- From Template – Choose a previously created template to create a new email.
Step 2: Select who will receive the emails
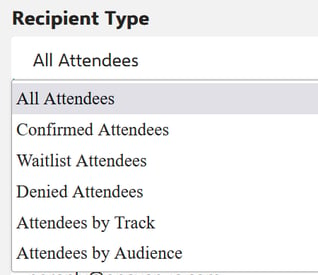
Recipient Type
- All Attendees – Targets all attendees in a conference.
- Confirmed Attendees – Targets attendees that have confirmed registration
- Waitlist Attendees – Targets attendees that are on the registration waitlist
- Denied Attendees – Targets attendees that have been denied registration
- Attendees by Track – Target attendees who are registered for the selected track

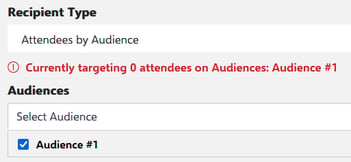
- Attendees by Audience – Target attendees who match the Audience filter you have created in with the Audience feature. If no attendees are targeted by the selected audience, an error message will appear.
Step 3: Create the email
From Email – Permanently set to noreply@onevenue.com
From Email Display Name – Set display name here, possibly the name of the event or Client (i.e., Microsoft Education Test Fest, or Public Cloud Week)
Subject – Set your email subject here.
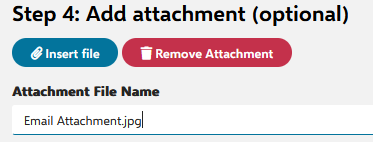
Step 4: Add attachment (optional)
If you have a separate file to send with your email, attach it here.
After uploading file, you have the option to rename the attachment, or remove the file.
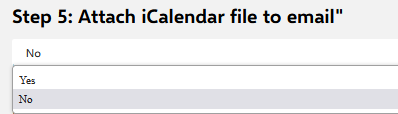
Step 5: Attach iCalendar file to email (optional)
Toggle iCalendar file option here.
(This is the text that will show in non-Outlook calendars. Text only, no HTML or styling.)
Step 6: Message
Toolbar

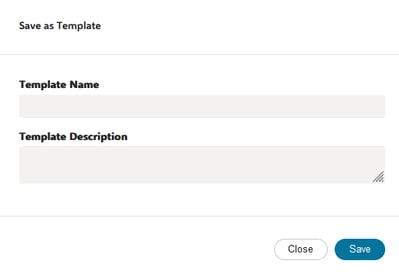
Save As Template
Save the current email body as a template for later use.
Schedule Settings
Here you can change the settings for sending a composed email. You have the option to Send immediately, or to schedule a send time.
Selecting Schedule Send Time will allow you to configure the date & time when your message should be sent.
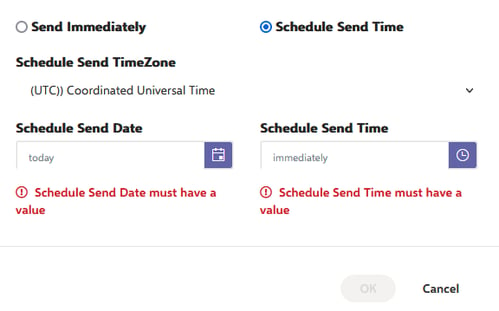
If the email has no scheduling, and sending immediately, there will be a warning message above the email toolbar.

Send Test Email
Use this to send the email to a single recipient (typically yourself), so you can see how the email will be delivered and to confirm the body and sender is correct before sending an email to potentially thousands of people.
SEND
This well send your email immediately
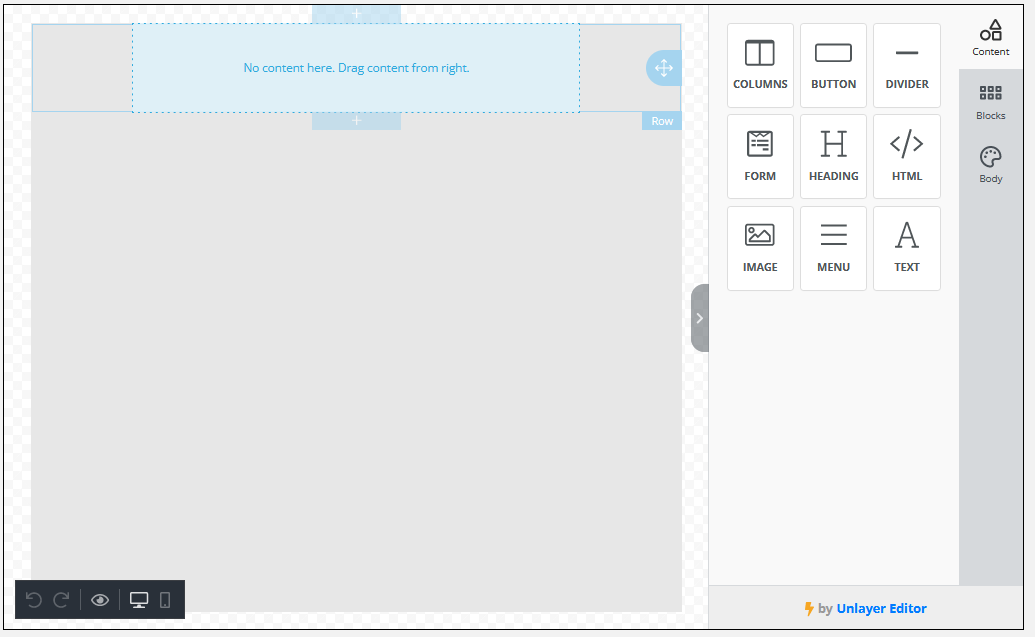
Email Body
Here you will compose your email body using the drag-and-drop editor.
To gain more confidence with the Unlayer Editor tool, and play with templates view the documentation pages Here
iCal Details (optional)
Compose your iCalendar content here if you have it toggled on (yes) from Step 5.
(This is the text that will show in non-Outlook calendars. Text only, no HTML or styling.)
- iCalendar Summary – Set your iCalendar summary here
- iCalendar Description – Set your iCalendar Description here
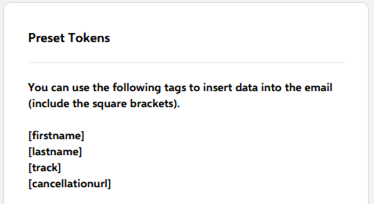
Preset Tokens
Preset tokens are just shortcuts allowing you to use text variables to further customize your email communications.
[firstname] will pull the recipients’ first name from OneVenue and use it in the email message.
[lastname] will pull the recipients’ last name from OneVenue and use it in the email message.
[track] will pull the recipients’ registered track from OneVenue and use it in the email message.
[cancellationurl] will insert a generated URL that will allow an attendee to cancel their registration by clicking the link.
Email Templates
View, edit, duplicate or delete your saved email templates here.

Scheduled Emails
View and edit scheduled email here.

Sent Emails
View Sent emails here.
