OneVenue provides the ability to create expo halls. An expo hall is essentially a location in the event for your sponsors to post various content.
-
Expo Hall Configuration
- In the Admin page of OneVenue, select Expo Hall on the left then click Add Expo Hall. You can then enter the name of the expo hall and include a header and sub header. You can also include a picture. You can then indicate whether the expo hall is open, closed, or select a schedule for it to be open. Finally, click Create.
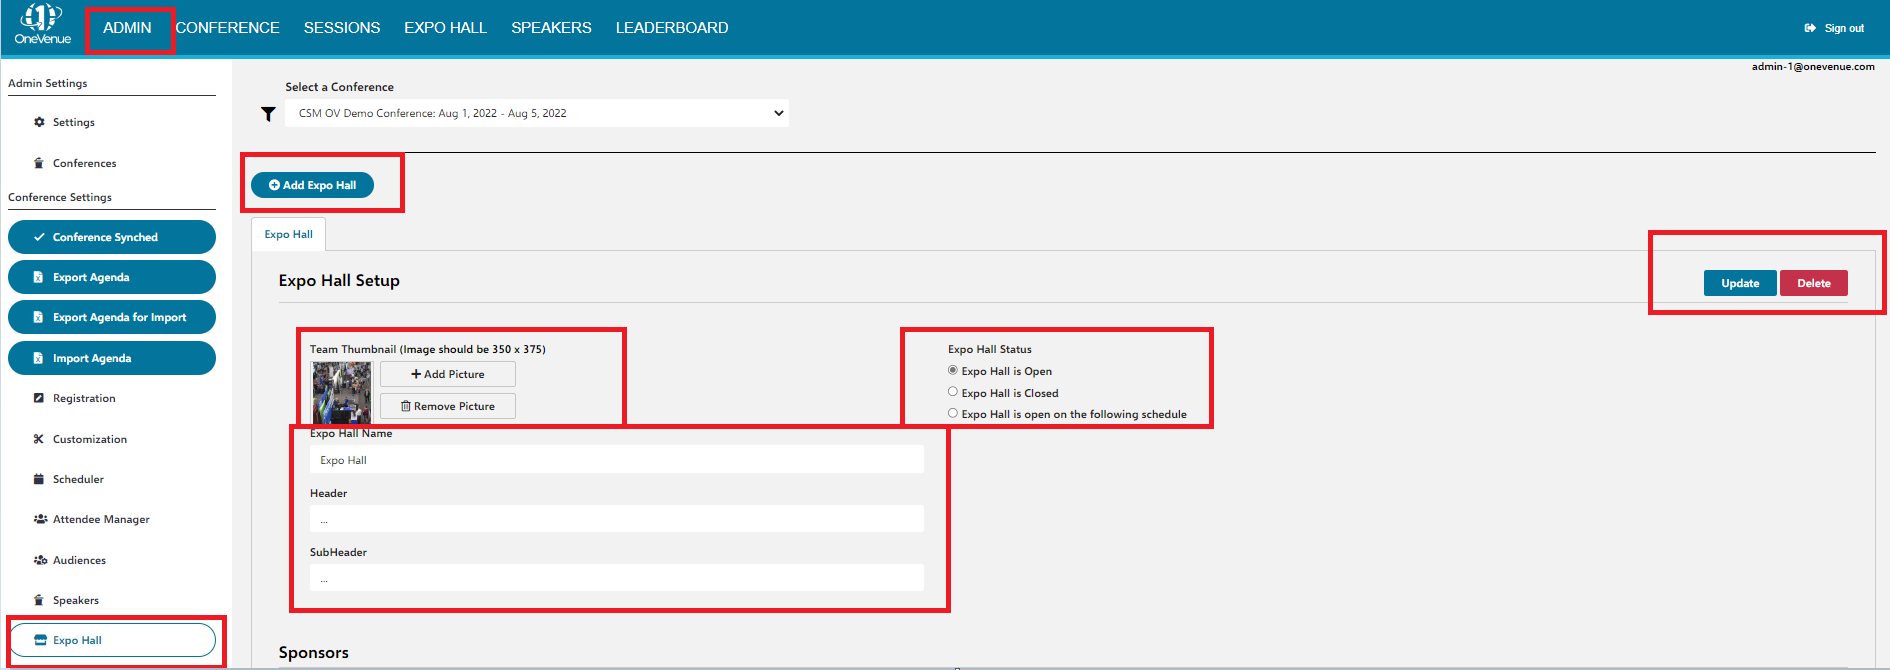
- In the Admin page of OneVenue, select Expo Hall on the left then click Add Expo Hall. You can then enter the name of the expo hall and include a header and sub header. You can also include a picture. You can then indicate whether the expo hall is open, closed, or select a schedule for it to be open. Finally, click Create.
-
Sponsor Booths
- After creating the expo hall, you can then create sponsor booths, which will enable your attendees to see your event's sponsors and any content they choose to post.
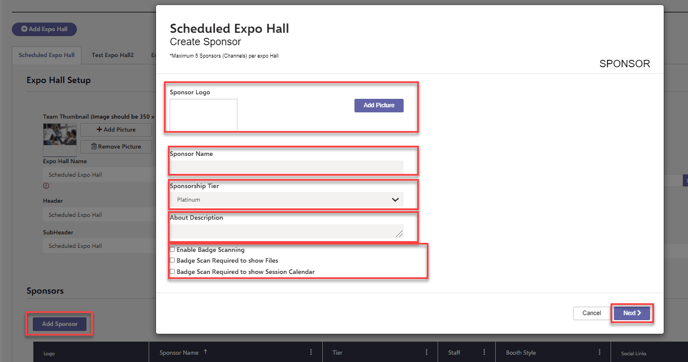
- Click Add Sponsor under Sponsors. In the Create Sponsor dialog, you can enter basic information about the sponsor as well as select options for which attendee contact info to require for them to access files and the session calendar. Click Next.
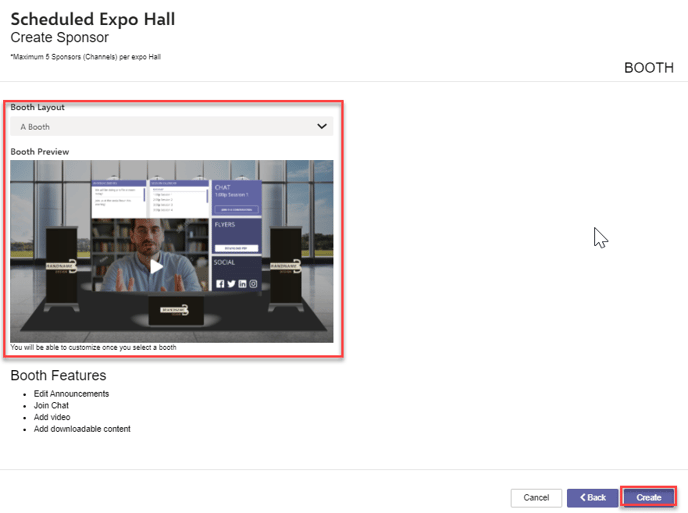
- You will then be able to select your sponsor booth layout using the dropdown based on your needs. Below the dropdown you will see a preview of each layout as well as booth features. Once you've selected your layout, click Create.